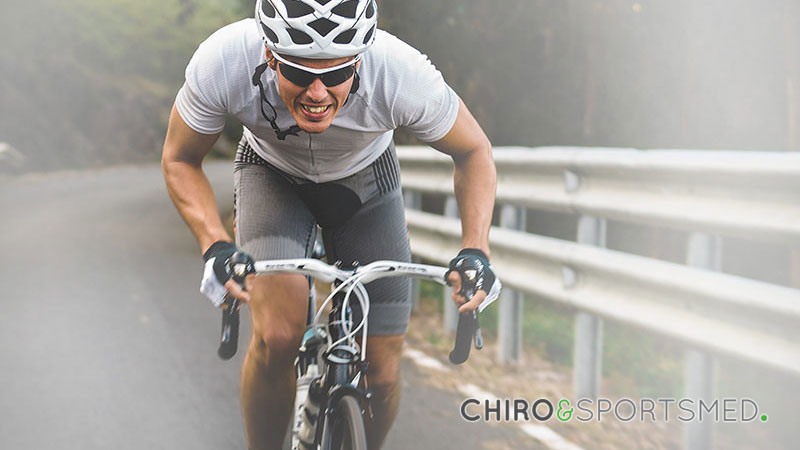
Sport-specific training is a must, whether you are a weekend warrior who goes cycling on the weekend to grab a coffee with a couple of mates or looking to take your pedal to the next level. Not only will it reduce the risk of injury, but it will also increase cycling performance. In the previous blog “5 ways to get the best from your pedal” we introduced the concepts of the power phase (12 o’clock to 6 o’clock) and the recovery phase (6 o’clock) and discussed the prime movers of each phase of cycling. It may be worth a re-read to fill in any blanks and to go back over the benefits of adequate rest and recovery.
Sport-specific training is important to ensure the proper muscle rations and motor firing patterns are in place for efficient and effective performance. Before beginning any exercise it is important to get a good warm-up in, and currently, dynamic warms ups are considered the gold standard (click here for a quick and easy dynamic warm-up perfect for any aerobic exercise). Here are my top 4 exercises to build a solid foundation next time you are cycling:
Plank on a swiss ball:
“You can’t fire cannons out of a row boat”. Power starts from good lumbo-pelvic stabilisation. If you are new to the plank we can begin on the floor and progress to a swiss ball as we get stronger and more confident.
- To begin, laying on the floor on our belly, position the forearms flat of the floor elbows underneath shoulders
- We want to switch on the core and make a straight line from our heads down to our hips
- If this is your first plank or experience back pain we can rest on our knees, or straighten the legs.
- Hold for as long as possible and try and increase the time by 10% every time you repeat.
- When we feel we are getting bored on the floor it is time to introduce the swiss ball. Same position but this time we are activating the core more by being on an unstable surface
- When you are feeling really confident we can begin to write letters or word with the swiss ball under our forearms.
Squats:
- Stand with the feet hip-width apart, knees in line with the big toe, spine chest and pelvis in a neutral position.
- Lower the pelvis posteriorly as if going to sit in a chair, ensuring the knees do not track in front of the toes, or collapse in our out from the starting position.
- Continue lowering the hips until they are in line with the knees
- Rise back up slowly to the starting position.
- When these become easy, we can progress to a single leg squat.
Start with 2 sets of 6 and progress up until 3 sets of 12 then it is time to progress or increase weight.
Single leg deadlift
- Begin standing in a neutral position foot hip-width apart.
- Place the weight of your body through the right heel and bending at the hip and keeping the left leg straight extend it behind the body.
- The right leg should keep about a 20° bend at the knee to help switch on the glutes.
- When you get the legs 90° from one another pause and return to the starting position.
- We can progress this exercise by lifting up a kettlebell or dumbbell, but care must be taken to ensure we are not rotating through the hips and our back and extended leg are in a straight line
*A little tip to ensure the hips do not rotate when we extend one leg off the ground is to ensure the lifted legs toes always point towards the ground. Start with 2 sets of 6 and progress up until 3 sets of 12 then it is time to progress or increase weight.
Heel raises
- Step up on to a set of stair steps and hold onto the wall or stair railing. You can also use a sturdy chair.
- Place the balls of your feet on the step and slowly let your heels sink down
- Raise your heels as high as you can.
- Go down as low as you can.
- Repeat at least 5 times to begin with, moving up to 10, 15, 20 over time. Repeated use of this exercise will strengthen your calf muscles and loosen tight foot muscles over time.
Gradual progression is the key to any strength exercises, never exceed the previous session by 10% to reduce risk of overload injury, and as always if any pain presents consult a qualified health care practitioner.


